Mar 25, 2026
Your expert 2026 guide to the Old Course at St Andrews scorecard. Get a printable PDF, hole-by-hole strategy, yardages, and local rules for your next round.

The Old Course at St Andrews scorecard is more than just a piece of paper; it’s your roadmap for tackling the "Home of Golf." It spells out the legendary Par 72 layout, the classic out-and-back routing, and the unique challenges you’ll face on every single hole. For players and tournament organizers, it's the essential guide to the course.
Mastering the Old Course Scorecard for Your Next Round
Getting to know the Old Course scorecard is a must, whether you're just there for a friendly round or you're running a major event. This isn't just a list of yardages. Think of it as a strategic map that reveals how the course’s historic design dictates play and, ultimately, your score.
For over 150 years, this card has been the benchmark for the world's best. From the tips, it measures a stout 7,305 yards with a par of 72. You’ll find yourself facing iconic challenges like the infamous 495-yard par-4 17th, the Road Hole, and navigating the unique double greens on holes 5/13 and 7/11, which demand absolute precision. If you want to dive deeper into the course’s rich past, the official St Andrews Wikipedia page is a great resource.
Why This Scorecard Is Unique
The scorecard's layout immediately tells you this isn't your typical modern course. Instead of two nines that loop back to the clubhouse, the Old Course runs straight out for nine holes and then straight back in. This "out and back" routing is a defining feature, making wind direction a huge factor in your strategy for the day.
The card also highlights a few other quirks you won't find just anywhere:
Par 72 Layout: The course has only two par-3s and two par-5s, a truly old-school design.
Fourteen Par-4s: With so many par-4s, there's a heavy premium on strong driving and solid approach shots.
Double Greens: Seven massive, shared greens create putting situations you've likely never seen before.
Understanding these fundamentals before you even step on the first tee is the key to building a smart game plan. The scorecard isn't just for writing down numbers; it's your first step to successfully navigating one of golf's greatest tests.
This guide will serve as your quick-reference hub, laying the groundwork for a hole-by-hole breakdown and some critical notes for tournament setup. By the end, you’ll see exactly why this scorecard has been a central part of the game for centuries and how you can use it to your advantage.
Download Your Printable Old Course Scorecard PDF
There's something special about holding a physical scorecard in your hand before a big round. It turns an abstract course map into a concrete plan of attack, letting you visualize shots and identify trouble long before you step onto the first tee.
To help you get ready, we’ve created a few high-resolution, printable PDFs of the Old Course scorecard. Grab one to strategize your round or keep it as a memento to frame later.
Available Scorecard Versions
We've got scorecards ready for the main tee sets you'll find at the Old Course. Just pick the one that fits your game:
Championship Tees: For anyone wanting to see how they stack up from the very back, where the pros play.
Men's Tees: The standard setup for most amateur guys, offering a serious but fair challenge.
Women's Tees: The go-to scorecard with accurate yardages for a great day on the links.
For tournament organizers, having a stack of these is a no-brainer. You can slip them into player welcome packets or just keep them on hand as a reliable backup to digital scoring. It’s a simple step that makes sure your event runs smoothly.
If you’re interested in what makes a truly great scorecard, you might want to check out our guide on the best golf scorecard designs.
A Hole-by-Hole Look at the Outward Nine
Don't let the wide-open spaces of the Old Course's front nine fool you. Unlike modern courses with clearly defined fairways, the "Outward" nine at St Andrews is a masterclass in subtlety. The real challenge isn't just the yardage on your old course at st andrews scorecard; it's the hidden pot bunkers, sneaky burns, and massive double greens that demand your full attention.
Before we dive in, here’s a quick look at the different tee options you'll find on the scorecard. Knowing which set you're playing from is key to planning your round.
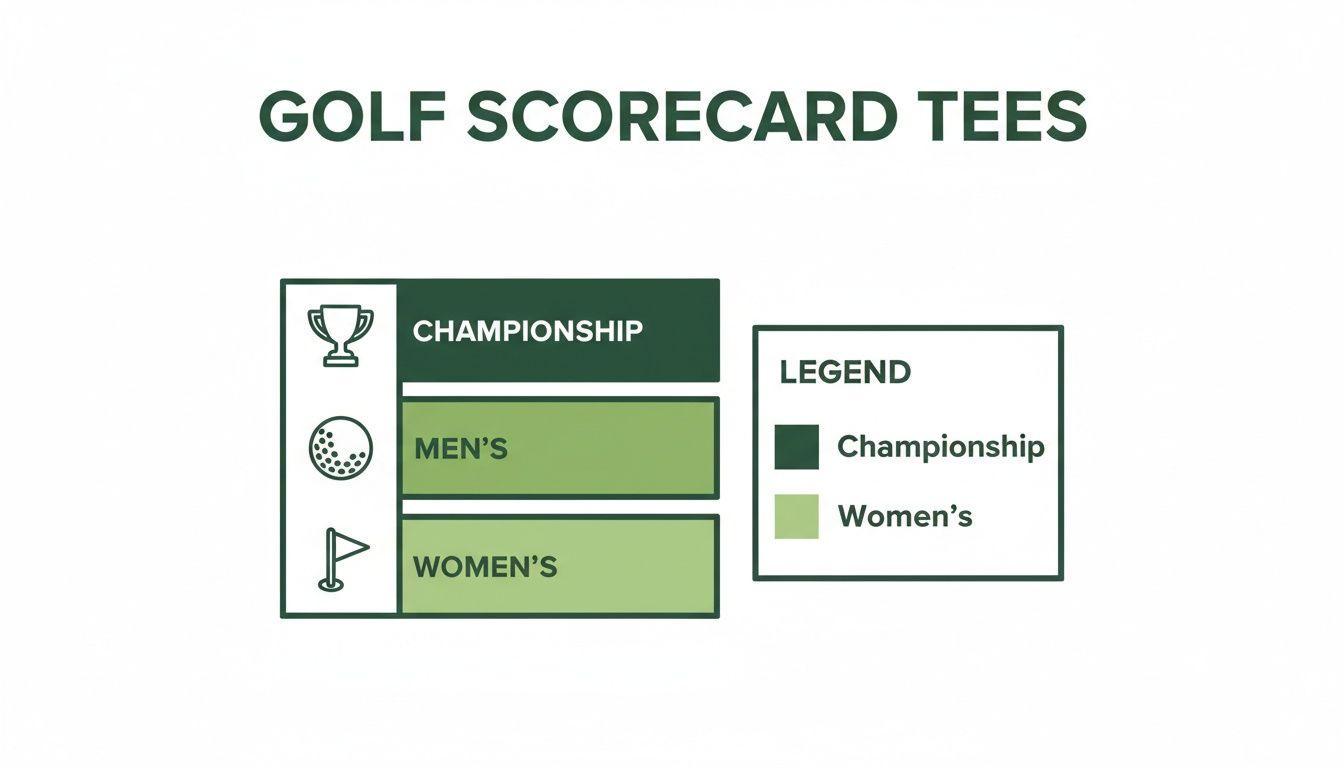
This chart helps you make sense of the yardages we'll cover, ensuring you're matching your game to the right challenge.
Here’s the complete scorecard data for the front nine, breaking down the yardages, par, and stroke index for each hole.
Old Course at St Andrews Front Nine Scorecard Data
Hole | Name | Par | Stroke Index | Championship (Yards) | Men's (Yards) | Women's (Yards) |
|---|---|---|---|---|---|---|
1 | Burn | 4 | 18 | 376 | 355 | 344 |
2 | Dyke | 4 | 12 | 453 | 411 | 373 |
3 | Cartgate (Out) | 4 | 16 | 398 | 373 | 343 |
4 | Ginger Beer | 4 | 10 | 480 | 465 | 401 |
5 | Hole O'Cross (Out) | 5 | 2 | 570 | 568 | 506 |
6 | Heathery (Out) | 4 | 8 | 412 | 400 | 338 |
7 | High (Out) | 4 | 4 | 390 | 371 | 358 |
8 | Short | 3 | 14 | 175 | 166 | 136 |
9 | End | 4 | 6 | 352 | 348 | 307 |
Out | Total | 36 | 3,606 | 3,457 | 3,106 |
With the numbers laid out, let's talk strategy. Here’s how you can navigate each hole on the front nine like a seasoned regular.
Hole 1: Burn (Par 4, SI 18)
It’s arguably the most nerve-wracking opening shot in golf. You've got the R&A clubhouse staring you down and what looks like the widest fairway on earth. But the real test is the Swilcan Burn cutting across the front of the green.
The only goal here is to get your ball in play. Favor the left side of the fairway to open up the best angle into a green that slopes hard from back to front. Whatever you do, don't go long on your approach—short is always the safe play.
Hole 2: Dyke (Par 4, SI 12)
Welcome to the classic pot bunkers of the Old Course. The one you absolutely must avoid here is Cheape's bunker, a deep pit waiting on the left side of the fairway. Keep your tee shot to the right for a clear view of the green.
Your approach is to a long, skinny green with another pot bunker guarding the right. Check the pin position. The green is so long it can easily mean a two or three-club difference on your second shot.
Hole 3: Cartgate (Out) (Par 4, SI 16)
This is your first encounter with one of St Andrews' famous double greens, shared with the 15th hole. The big danger is the massive Cartgate Bunker sitting left of the fairway. A drive aimed at the right-center is the play.
Local knowledge is critical on these double greens. Your flag is typically white, while the flag for the other hole (in this case, the 15th) is red. You are allowed relief if another player's ball on the green is in your line, so don't be afraid to ask. This isn't on the scorecard, but it's essential for navigating the course.
Hole 4: Ginger Beer (Par 4, SI 10)
Your strategy on the 4th is all about the cluster of bunkers on the right. The smart shot is to aim well left of them, which leaves a longer but much safer approach. If you're feeling aggressive, you can try to carry them for a short iron in, but it brings big numbers into play. The green is small and tricky, so a precise second shot is a must.
Hole 5: Hole O'Cross (Out) (Par 5, SI 2)
This is the only par 5 on the front nine and a real scoring opportunity. The hole doglegs right and shares another massive double green with the 13th. Two solid shots should get you in the neighborhood, but a set of Spectacles-like bunkers guards the front. You have a choice: lay up short or go for it and bring eagle—and double bogey—into the picture.
Hole 6: Heathery (Out) (Par 4, SI 8)
This hole is a beast, playing toward a huge expanse of gorse. The fairway is lined with bunkers down the left side, so the safe play is to favor the right-center, even if it leaves you with a longer approach shot. The green is huge but full of movement, so a two-putt is never a given.
Hole 7: High (Out) (Par 4, SI 4)
As the 4th-hardest hole on the course, the 7th demands two great shots. Off the tee, you have to steer clear of the gigantic Shell Bunker on the right. Your approach is to a shared green with the 11th, protected by a deep swale on the left. If you miss left, you’ll be left with an incredibly difficult up and down.
Hole 8: Short (Par 3, SI 14)
The first par 3 of the day looks simple, but it's anything but. At just 175 yards from the tips, the green is incredibly narrow and flanked by two bunkers. Miss it left or right, and you'll have a tough pitch. Club selection is everything here; the wind can quickly turn a straightforward shot into a scramble for par.
Hole 9: End (Par 4, SI 6)
The final hole on the "Outward" nine plays back towards the gorse. Bunkers protect both sides of the fairway, so accuracy off the tee is a must. The green is long and narrow, with a big tier that separates the front and back sections. Landing your approach on the correct level is the only way to give yourself a realistic birdie chance.
Tackling the Famous Inward Nine
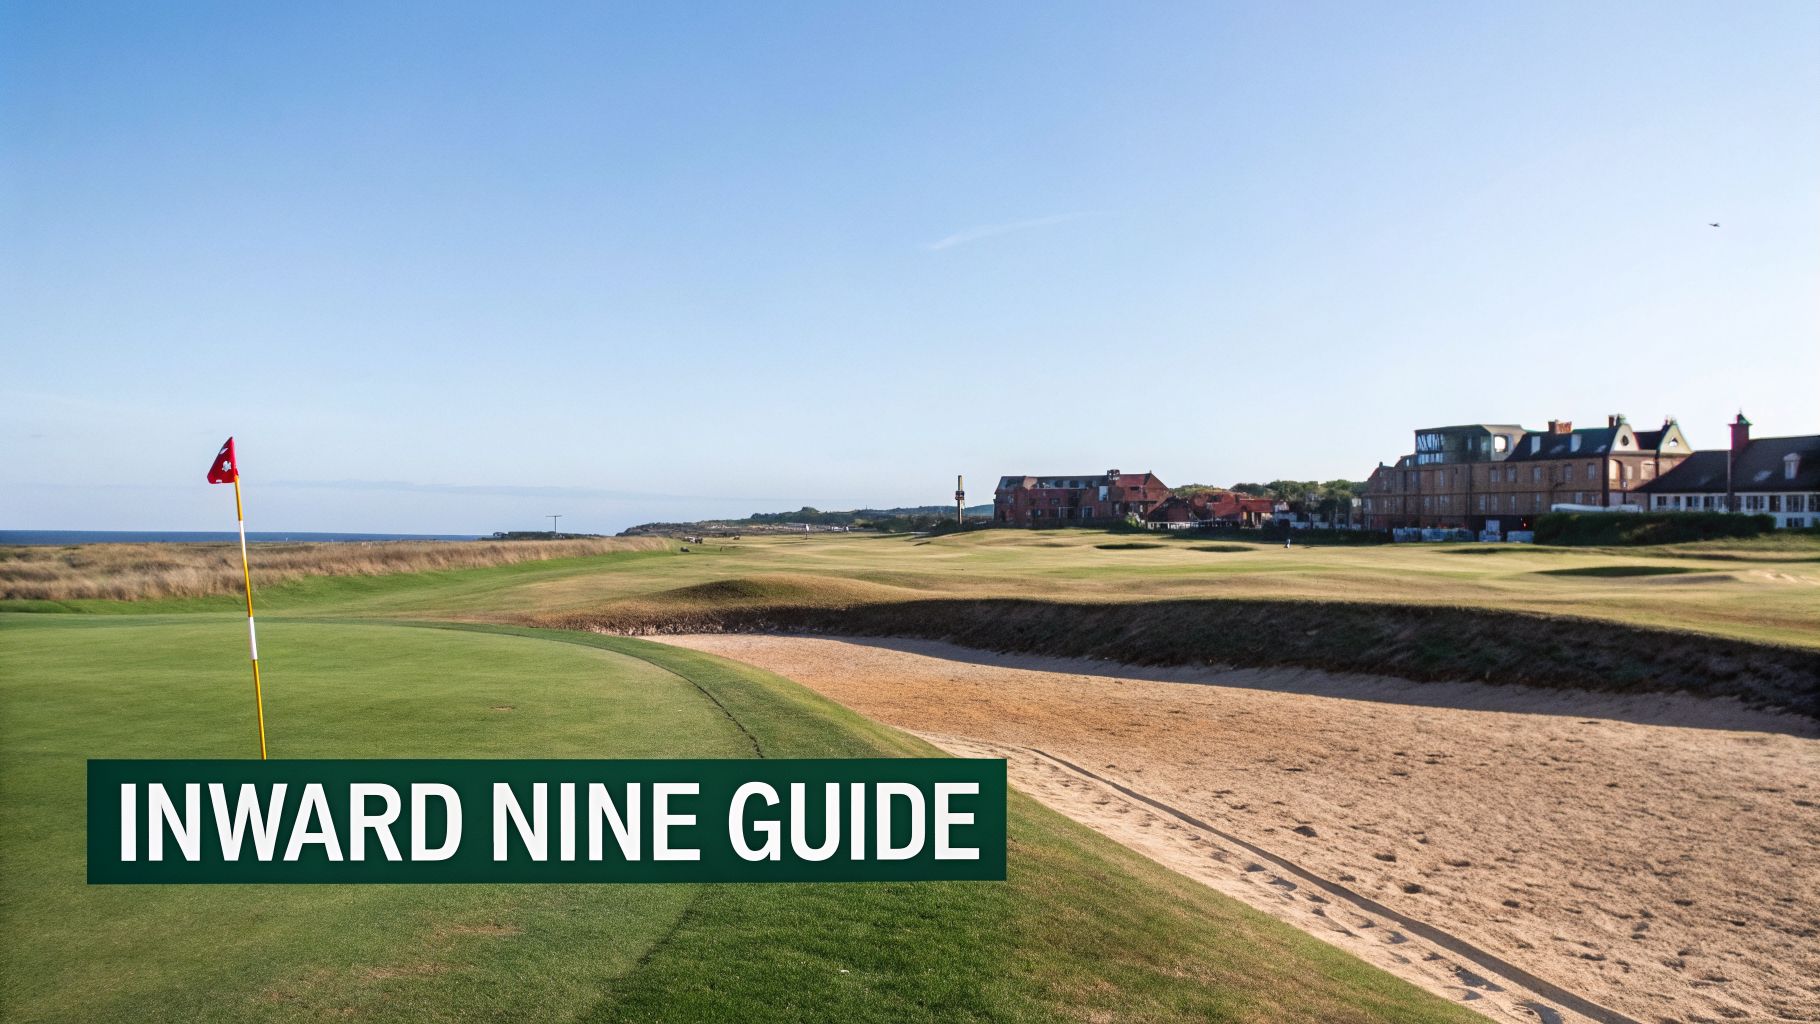
This is it. The inward nine at St Andrews is where tournaments are decided. As you make the turn for home, the course tightens its grip, introducing you to some of the most legendary—and treacherous—holes in the sport. A solid understanding of your old course at st andrews scorecard becomes less about record-keeping and more about survival.
True to its historic roots, the back nine throws a single par 3 and one par 5 at you, but they're surrounded by a gauntlet of seven demanding par 4s. You’ll need a smart strategy, steady nerves, and maybe a little good fortune to come out unscathed. Here’s all the data you’ll find on your scorecard for holes 10 through 18.
Old Course at St Andrews Back Nine Scorecard Data
Hole | Name | Par | Stroke Index | Championship (Yards) | Men's (Yards) | Women's (Yards) |
|---|---|---|---|---|---|---|
10 | Bobby Jones | 4 | 7 | 386 | 380 | 338 |
11 | High (In) | 3 | 17 | 174 | 172 | 148 |
12 | Heathery (In) | 4 | 9 | 348 | 348 | 316 |
13 | Hole O'Cross (In) | 4 | 5 | 465 | 427 | 370 |
14 | Long | 5 | 1 | 618 | 583 | 525 |
15 | Cartgate (In) | 4 | 13 | 455 | 413 | 400 |
16 | Corner of the Dyke | 4 | 3 | 423 | 407 | 358 |
17 | Road | 4 | 11 | 495 | 461 | 417 |
18 | Tom Morris | 4 | 15 | 357 | 361 | 354 |
In | Total | 36 | 3,721 | 3,552 | 3,226 |
Now that we've got the numbers, let's talk strategy for this iconic stretch.
Hole 10: Bobby Jones (Par 4, SI 7)
Named for the great amateur himself, the 10th is all about the tee shot. While the fairway looks wide, you need to favor the left side to get the right angle into a massive green shared with the 8th. The putting surface is full of subtle breaks that can easily turn a two-putt into a three-putt.
Hole 11: High (In) (Par 3, SI 17)
As the only par 3 on the back nine, the 11th is deceptively brutal. Two of the course's most feared bunkers, "Strath" on the left and "Hill" on the right, guard this small green. Your only goal here is to hit the putting surface. Missing it almost guarantees a bogey or worse.
Hole 12: Heathery (In) (Par 4, SI 9)
Here’s your classic risk-reward hole. It's a short par 4, but the fairway is blind and riddled with hidden pot bunkers. The smart play is a simple iron or hybrid off the tee, leaving you a full wedge in. But if you’re a long hitter, the temptation to go for the green is strong, bringing both eagle and a potential disaster into the equation.
Hole 13: Hole O'Cross (In) (Par 4, SI 5)
This hole shares its green with the 5th, but the approach comes from a totally different—and more difficult—angle. Your tee shot is blind over a dune, and the ideal line is just left of the notorious "Coffin" bunkers. Amateurs bleed shots here; the huge shared green averages 2.07 putts per green in regulation, which says everything about the challenge of lag putting. You can find more data on how everyday golfers play the Old Course by reviewing some Old Course statistics and how amateurs fare on shotscope.com.
The Famous Finishing Stretch
Now we get to the final five, arguably the most iconic closing stretch in golf.
Hole 14: Long (Par 5, SI 1): The stroke index says it all. This is a true three-shotter, with the enormous "Hell Bunker" looming on the left. A well-placed second shot is everything if you want to set up a manageable third.
Hole 15: Cartgate (In) (Par 4, SI 13): You’ll want to aim your drive down the right side here to steer clear of the bunkers lining the left. The approach shot goes to another shared green (with the 3rd hole), so make absolutely sure you're aiming for the right flag.
Hole 16: Corner of the Dyke (Par 4, SI 3): This hole is all about precision. Off the tee, you have to navigate the "Principal's Nose" bunker complex sitting right in the middle of the fairway. Survive that, and you face an approach to an elevated green protected by the "Wig" bunker.
Hole 17: Road (Par 4, SI 11)
The "Road Hole." It’s one of the most famous and difficult par 4s on the planet. The tee shot is blind, hit over the corner of the Old Course Hotel. But the real test is the approach to a shallow green guarded by the deep "Road Hole Bunker" and the out-of-bounds road and wall lurking just behind.
This hole is every bit as hard as its reputation suggests. The average score for amateur golfers is a brutal 5.31, with 30% of players walking away with a double bogey or worse. A par here feels like a birdie, and just avoiding a big number is a huge win.
Hole 18: Tom Morris (Par 4, SI 15)
The final hole brings you right back into town. It's a short par 4, but the iconic "Valley of Sin"—a deep swale protecting the front of the green—is the star of the show. Be sure to avoid the out-of-bounds stakes on the right, which leaves you with one last choice: lay up short of the valley, or go for it and try to finish with a memorable birdie. It’s a spectacular end to an unforgettable round.
Understanding Local Rules and Stroke Index
Your Old Course scorecard is more than just a list of holes and yardages—it’s a strategic map. To really understand how to play a match or score your round properly, you need to look beyond the numbers and pay attention to two critical elements: the Stroke Index and the unwritten local rules that govern play at the Home of Golf.
Getting these right is the difference between a smooth round and one filled with avoidable penalties and confusion.
Reading the Stroke Index
The Stroke Index (SI) is simply a ranking of the holes from 1 (hardest) to 18 (easiest). This isn't just for bragging rights; it's how handicap strokes are applied in match play. If a player gets 5 strokes, for example, they'll take them on the holes with an SI of 1 through 5.
On the Old Course, the stroke index tells you exactly where to play smart and where you might be able to get aggressive. The toughest hole, SI 1, is the 14th, "Long." It's a beast of a par 5 that demands three perfect shots just to stay clear of the infamous Hell Bunker.
On the other end of the spectrum, the "easiest" hole is the 1st, "Burn," which clocks in at SI 18. Don't let that fool you—that wide-open fairway does little to calm the nerves on the first tee.
Hardest Hole (SI 1): Hole 14, "Long"
Easiest Hole (SI 18): Hole 1, "Burn"
Toughest Par 4 (SI 3): Hole 16, "Corner of the Dyke"
These rankings are a huge part of your course strategy. Making a bogey on a hole with a low stroke index can feel like a par, while a hole with a high index is a genuine scoring opportunity. To see how your handicap plays out here, you can plug your numbers into a USGA course handicap calculator.
Essential Local Rules You Need to Know
The scorecard itself won’t list all the quirky local rules for the Old Course, but you’re still expected to know them. These are firm regulations that keep play fair and moving on a course with a lot of unique features.
Key Local Rules:
Seven Double Greens: When you're putting on one of the seven massive shared greens, you get relief if another player's ball (from another hole) is in your line. You're allowed to have them mark and lift it.
Internal Out of Bounds: The stone wall behind the 17th green and the road next to it are both out of bounds. The wall running down the right side of the 18th hole is also O.B.
Relief from Pot Bunkers: The Old Course has 112 of these things. If you find your ball in an unplayable spot inside one, every relief option comes with at least a one-stroke penalty. There's no free way out.
Public Roads and Paths: Several public paths cut across the fairways. If your ball ends up on one, you have to play it as it lies. They are not treated as obstructions that grant free relief.
The 17th, the "Road Hole," is a constant point of confusion. The road is out of bounds, and the tee shot is completely blind over hotel sheds. Regulars know you have to aim for specific letters on the hotel sign to find the fairway. It’s that kind of local knowledge that separates a good score from a lucky one.
Setting Up the Scorecard in Live Tourney Software
Let's be honest, taking a historic scorecard like the Old Course at St Andrews and getting it into your tournament software can feel like a chore. You want to get it right, but you also don't have hours to burn on data entry. This is exactly why we built Live Tourney's scorecard builder the way we did—to make this part of the job fast, accurate, and foolproof.
The idea is simple: you just map the data from the physical card directly into the system. You’ll plug in the hole names, pars, yardages for each tee, and the stroke index. Once it's in, that one profile powers your live leaderboards, printed materials, and everything else.
Step-by-Step Scorecard Configuration
Getting your scorecard dialed in is the foundation of a smooth tournament. In Live Tourney, we’ve broken it down into a few common-sense steps. You’ll create a master scorecard that takes care of all the details for every player in your event.
Create Your Course Profile: First thing's first. Inside Live Tourney, you’ll set up a new course profile for the "Old Course at St Andrews." This becomes the single source of truth for all your scorecard data.
Input Hole-by-Hole Data: Next, you'll go hole-by-hole and enter the details—the name (like "Burn" or "Dyke"), the par, and the stroke index. Getting this right ensures all your handicap and net scoring calculations are spot on.
Add Multiple Tee Sets: The Old Course has a handful of tee options. You can easily create and name each set (e.g., "Championship," "Men's White," "Women's Red") and plug in the specific yardage for each hole. This is a huge time-saver, as the software will automatically assign players to the correct tees.
Following these steps means you won't have to worry about errors. Every player gets the right scorecard, no matter which set of tees they're playing from.
Customizing Scorecards and Reports
Once the core data is loaded, you can get creative with the presentation. Live Tourney’s report builder lets you design and print everything from the official player scorecards to cart signs and locker tags, all automatically populated with the info you just entered.
Here’s a look at what the customization options look like inside the software.
As you can see, you can drag and drop different data fields to get a clean, professional look that matches your tournament's brand. It’s all about creating a flawless Old Course at St Andrews scorecard that does the legendary venue justice.
Pro Tip: Before the big day, always print a test scorecard from each tee set. Have another pro or a detail-oriented staff member check it against an official card. This one little quality check can save you from a major headache on tournament morning.
When you have a reliable platform handling the details, the player experience gets a serious boost. An accurate, professional scorecard shows you’ve got your act together and builds confidence in the event. For a deeper look at improving your tournaments, check out our complete guide on golf tournament scoring software and see how the right tools can make your job a whole lot easier.
Legendary Scores and Records on the Old Course
The scorecard in your back pocket is more than just a place to jot down pars and bogeys. It’s a connection to the ghosts of golf’s past. Every hole at St Andrews has a story, and the scores scribbled on cards during The Open Championship have become absolute legend.
Seeing the par for each hole isn't just a number; it's a benchmark that the best in the world have battled for over a century. Those records give your own round context, connecting your game to the triumphs and heartbreaks played out on these exact same grounds.
Unforgettable Open Championship Moments
From Jack’s dramatic playoff win to Tiger’s total domination, the Old Course has set the stage for some of golf's most iconic memories. These aren't just scores in a record book—they're career-defining moments.
Tiger Woods' 2000 Masterpiece: At the turn of the millennium, Tiger put on a clinic. He shot a staggering 19-under-par to win by eight strokes, but that's not even the whole story. He played all 72 holes without finding a single one of the course's 112 bunkers—a feat of course management that might never be matched.
Jack Nicklaus's Farewell: While his victories in 1970 and 1978 are legendary, Jack’s final walk up the 18th in 2005 was just as powerful. He fittingly birdied his last hole, creating an emotional send-off that perfectly captured his special relationship with St Andrews.
The Old Course has seen it all. Think of Jack Nicklaus winning the 1970 Open in an 18-hole playoff, or Tiger's 19-under demolition in 2000. More recently, the 2010 Open needed a Monday finish and a 4-hole playoff for Zach Johnson to clinch the title. That same year Tiger won, a record 239,000 fans flooded the grounds. For league admins, this history is gold. You can use a tool like Live Tourney to build events with real-time leaderboards that echo the tension of a major. Want to dig deeper? You can explore more historic tournament results from the Old Course at where2golf.com.
Building a Narrative for Your Event
If you're running a tournament, don't just hand out scorecards—give them meaning. Weaving these legendary moments into your event adds a layer of historical weight that players really connect with.
It changes the game from a simple round of golf into a chance to walk in the footsteps of giants. That context makes the entire experience more memorable and gives everyone a better appreciation for the challenge in front of them.
Your Old Course Scorecard Questions, Answered
Playing the Old Course is one thing, but understanding its scorecard is another. It’s a course with more than a few quirks, and knowing what to expect can make all the difference. We get these questions all the time, so here are some quick answers to help you get ready.
What’s the Par at the Old Course?
The Old Course is a classic par 72, but its layout is anything but typical. You’ll only find two par-3s and two par-5s on the entire card.
That leaves fourteen par-4s standing between you and a good score. This unique structure is a huge part of its strategic challenge and has defined the course for centuries.
Do I Need a Different Scorecard for Each Tee?
Yes and no. While the physical scorecard you get at the starter's hut might be the same for everyone, the yardages change drastically depending on which tees you're playing.
That’s why our downloadable PDF scorecard and hole-by-hole guides break down the specific distances for each tee:
Championship (Tiger) Tees
Men's (White) Tees
Women's (Red) Tees
Make sure you're referencing the right numbers for your group.
How Do the Double Greens Work?
This is a big one. The Old Course is famous for its seven massive double greens, and they come with a crucial local rule you absolutely have to know.
If your ball is on the putting surface but another player's ball (who is playing a different hole) is in your line, you are entitled to relief. They will be asked to mark their ball so you have a clear path to the hole. This isn't always printed on the card, but it's fundamental to playing here.
What Makes the 17th Hole So Hard?
Ah, the "Road Hole." The 17th is arguably the most famous par 4 in golf, and its reputation is well-earned. It’s a beast, measuring 495 yards from the tips.
The difficulty comes from a perfect storm of challenges:
A blind tee shot that has to carry the corner of the Old Course Hotel.
The infamous, pot-bellied "Road Hole Bunker" guarding the front-left of the green.
A paved road and ancient stone wall running right behind the green, both of which are out of bounds.
Just making a par here feels like a birdie.
Ready to manage your next golf event like a pro? With Live Tourney, you can create professional scorecards, run live leaderboards, and automate tournament setup in minutes, not hours. Explore how our intuitive, app-free software can elevate your player experience by visiting our website.


